No products in the cart.
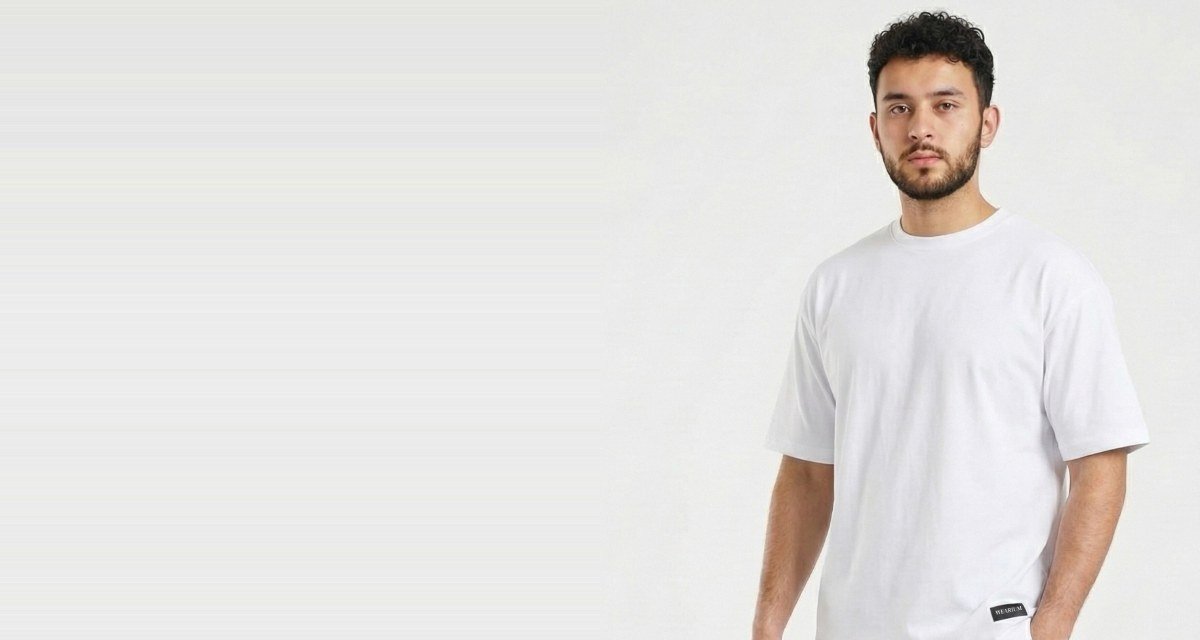
A great custom T-shirt starts with a good file. Before you upload your logo or artwork in our designer, a few quick checks will help it print sharp and look the way you expect.
Our designer accepts PNG and JPG images up to 10 MB. If your logo has a plain background that you don’t want printed, use a PNG with a transparent background. A JPG always prints its background as a solid block.
Small images look blurry when they are stretched across a chest print. Upload the largest version of your logo that you have. As a rule of thumb, aim for at least 1500 pixels on the longest side for a front print. Screenshots and images saved from social media are usually too small.
Dark logos disappear on black or navy shirts and light logos fade on white. Pick a shirt colour that contrasts with your design, or use a light version of your logo on dark tees.
In the designer, the red box shows the printable area on the front and back of the shirt. Keep your logo and any text inside it. You can move and resize your artwork with the handles, and use the arrow at the bottom to switch between the front and back.
When you’re happy with the preview, click Done, choose your size and add the shirt to your cart. Have a question about your file? Call us on +92264991791 or email chotudonofficial@gmail.com.